先说问题
在 Windows 上用 Cursor 打开 WSL 项目时,左下角一直转圈,等待比较久……好像也没有安装好,检查 ~/.cursor-server/bin/ 目录,发现 commit id 的目录是空的,说明自动下载失败了。这在国内网络环境下应该常见,因为服务器文件有 125MB,可能下载中途断掉了。
为什么会有这个问题
Cursor 连接 WSL(或远程 SSH)时,需要在 WSL 内安装一个服务端组件 cursor-server,它本质上是 VSCode Remote 的定制版。自动下载流程大致是:
- Cursor Windows 端发起 WSL 连接
- WSL 端根据 commit ID 下载对应的
vscode-reh-linux-x64.tar.gz - 解压到
~/.cursor-server/bin/<commit-id>/ - 启动 server,建立通信
第二步在国内网络环境下经常超时或中断,下载失败后 bin/<commit-id>/ 目录是空的,但 .installation_lock 文件被写入了,导致 Cursor 以为"正在安装中",不会重试。
手动安装步骤
找到当前 Cursor 版本的 commit ID
Commit ID 在 Cursor 的版本里,命令:
bash
cursor --version
输出:

text
"55434bd8062ece6fee083b82beed2aee42d253f0"
"55434bd8062ece6fee083b82beed2aee42d253f0"
记下这串 commit ID,后面都要用到。
确认下载 URL
在安装目录中,/mnt/c/Users/jiang/AppData/Local/Programs/cursor/resources/app/product.json (实际情况依据你安装的目录) product.json 里定义了下载地址模板:
json
1"serverDownloadUrlTemplate": "https://cursor.blob.core.windows.net/remote-releases/${commit}/vscode-reh-${os}-${arch}.tar.gz"
"serverDownloadUrlTemplate": "https://cursor.blob.core.windows.net/remote-releases/${commit}/vscode-reh-${os}-${arch}.tar.gz"
对 Linux x64 来说,最终的 URL 就是:
text
https://cursor.blob.core.windows.net/remote-releases/<commit-id>/vscode-reh-linux-x64.tar.gz
https://cursor.blob.core.windows.net/remote-releases/<commit-id>/vscode-reh-linux-x64.tar.gz
先用 curl 确认能访问(WSL下):
bash
1curl -sI "https://cursor.blob.core.windows.net/remote-releases/55434bd8062ece6fee083b82beed2aee42d253f0/vscode-reh-linux-x64.tar.gz" | head -5
curl -sI "https://cursor.blob.core.windows.net/remote-releases/55434bd8062ece6fee083b82beed2aee42d253f0/vscode-reh-linux-x64.tar.gz" | head -5
返回 HTTP/1.1 200 OK 就没问题。

下载并解压
bash
 1# 下载(如果网络慢,可以用代理或者挂在后台慢慢下)
 2curl -L -o /tmp/cursor-server.tar.gz \
 3  "https://cursor.blob.core.windows.net/remote-releases/55434bd8062ece6fee083b82beed2aee42d253f0/vscode-reh-linux-x64.tar.gz"
 4
 5# 解压到对应 commit 目录
 6mkdir -p ~/.cursor-server/bin/55434bd8062ece6fee083b82beed2aee42d253f0
 7tar -xzf /tmp/cursor-server.tar.gz \
 8  -C ~/.cursor-server/bin/55434bd8062ece6fee083b82beed2aee42d253f0/
 9
10# 如果解压后多了一层目录,把内容移上来
11cd ~/.cursor-server/bin/55434bd8062ece6fee083b82beed2aee42d253f0/
12ls  # 确认是不是直接包含了 bin、node_modules 等目录
13    # 如果只有一个子目录,把内容移上来
14mv vscode-reh-linux-x64/* .
15mv vscode-reh-linux-x64/.* . 2>/dev/null
16rmdir vscode-reh-linux-x64
17
18# 清理临时文件
19rm /tmp/cursor-server.tar.gz
# 下载(如果网络慢,可以用代理或者挂在后台慢慢下)
curl -L -o /tmp/cursor-server.tar.gz \
  "https://cursor.blob.core.windows.net/remote-releases/55434bd8062ece6fee083b82beed2aee42d253f0/vscode-reh-linux-x64.tar.gz"

# 解压到对应 commit 目录
mkdir -p ~/.cursor-server/bin/55434bd8062ece6fee083b82beed2aee42d253f0
tar -xzf /tmp/cursor-server.tar.gz \
  -C ~/.cursor-server/bin/55434bd8062ece6fee083b82beed2aee42d253f0/

# 如果解压后多了一层目录,把内容移上来
cd ~/.cursor-server/bin/55434bd8062ece6fee083b82beed2aee42d253f0/
ls  # 确认是不是直接包含了 bin、node_modules 等目录
    # 如果只有一个子目录,把内容移上来
mv vscode-reh-linux-x64/* .
mv vscode-reh-linux-x64/.* . 2>/dev/null
rmdir vscode-reh-linux-x64

# 清理临时文件
rm /tmp/cursor-server.tar.gz
清理安装锁文件
这是关键一步。Cursor 在下载开始时写入了 .installation_lock,如果不删掉,它不会检测到 server 已经装好:
bash
1rm -f ~/.cursor-server/.installation_lock*
rm -f ~/.cursor-server/.installation_lock*
验证安装
bash
1~/.cursor-server/bin/55434bd8062ece6fee083b82beed2aee42d253f0/bin/cursor-server --version
~/.cursor-server/bin/55434bd8062ece6fee083b82beed2aee42d253f0/bin/cursor-server --version
输出:

版本号和 commit ID 对上,说明安装成功了。
重新连接
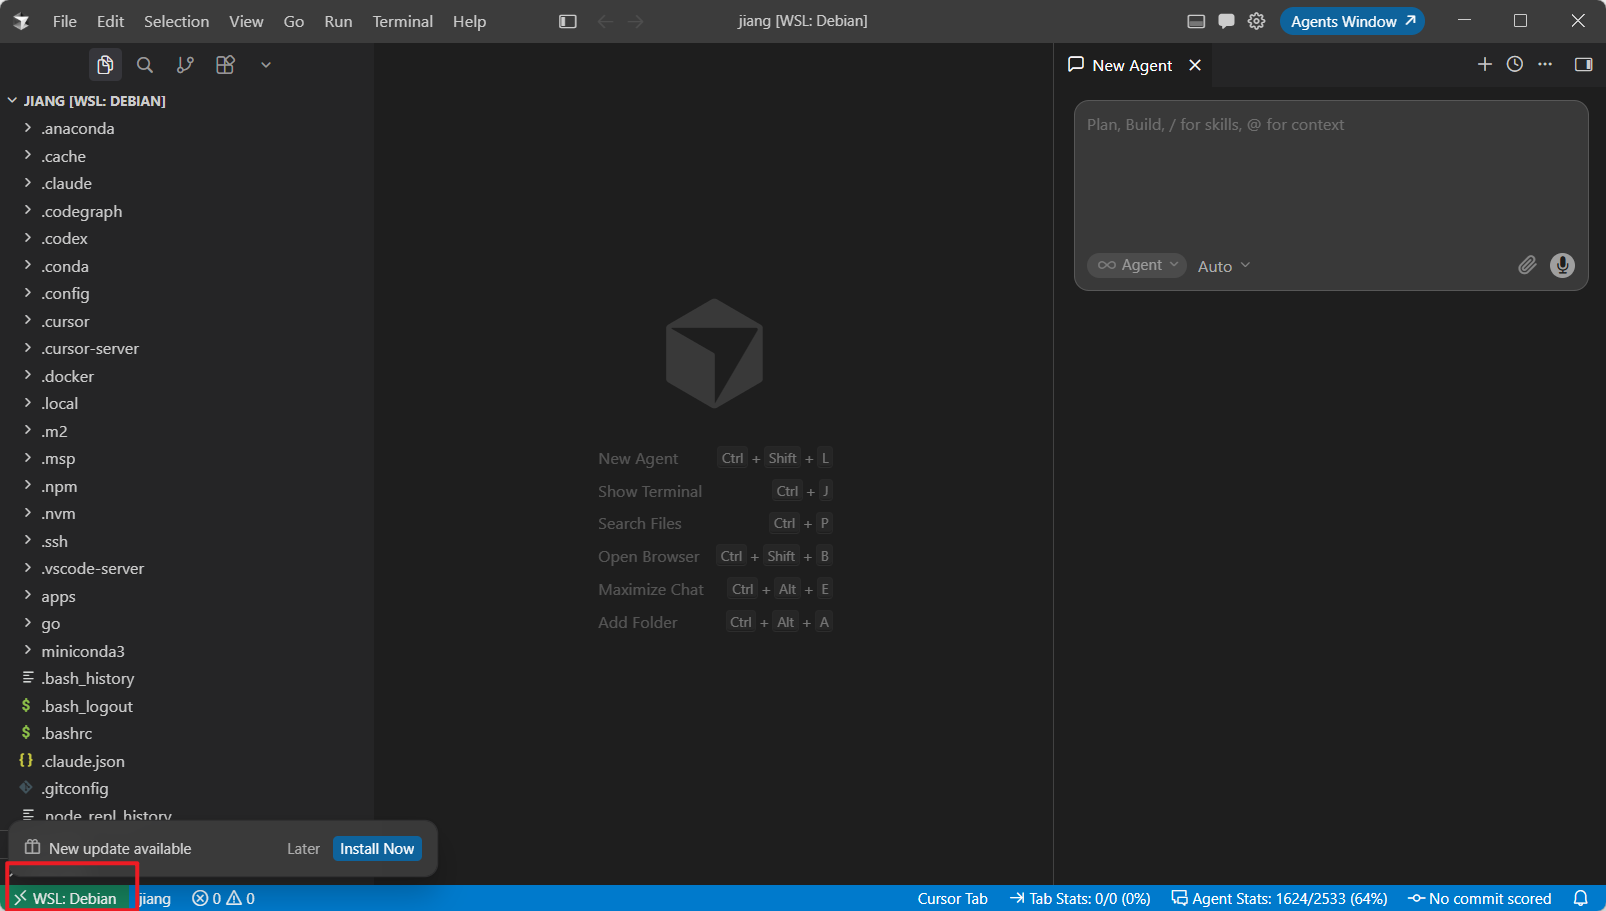
回到 Cursor Windows 端,点击左下角 >< 图标,重新连接 WSL。这次应该秒连,不再卡在安装步骤。
如果 Cursor 更新了版本
每次 Cursor 更新版本,commit ID 会变,需要重新安装对应的 server。流程一样:
- 查新的 commit ID
- 下载对应的
vscode-reh-linux-x64.tar.gz - 解压到新的
bin/<new-commit-id>/ - 清理 lock 文件
我习惯把下载包留一份,或者写个脚本一键搞定:
bash
 1#!/bin/bash
 2COMMIT=$(grep -o '"commit"[^,]*' "/mnt/e/Users/jiang/AppData/Local/Programs/cursor/resources/app/product.json" | cut -d'"' -f4)
 3echo "Commit: $COMMIT"
 4
 5mkdir -p ~/.cursor-server/bin/$COMMIT
 6
 7curl -L -o /tmp/cursor-server.tar.gz \
 8  "https://cursor.blob.core.windows.net/remote-releases/$COMMIT/vscode-reh-linux-x64.tar.gz"
 9
10tar -xzf /tmp/cursor-server.tar.gz -C ~/.cursor-server/bin/$COMMIT/
11# 处理嵌套目录
12if [ -d "$HOME/.cursor-server/bin/$COMMIT/vscode-reh-linux-x64" ]; then
13  mv ~/.cursor-server/bin/$COMMIT/vscode-reh-linux-x64/* ~/.cursor-server/bin/$COMMIT/
14  rmdir ~/.cursor-server/bin/$COMMIT/vscode-reh-linux-x64
15fi
16
17rm -f ~/.cursor-server/.installation_lock*
18rm /tmp/cursor-server.tar.gz
19
20echo "Done"
#!/bin/bash
COMMIT=$(grep -o '"commit"[^,]*' "/mnt/e/Users/jiang/AppData/Local/Programs/cursor/resources/app/product.json" | cut -d'"' -f4)
echo "Commit: $COMMIT"

mkdir -p ~/.cursor-server/bin/$COMMIT

curl -L -o /tmp/cursor-server.tar.gz \
  "https://cursor.blob.core.windows.net/remote-releases/$COMMIT/vscode-reh-linux-x64.tar.gz"

tar -xzf /tmp/cursor-server.tar.gz -C ~/.cursor-server/bin/$COMMIT/
# 处理嵌套目录
if [ -d "$HOME/.cursor-server/bin/$COMMIT/vscode-reh-linux-x64" ]; then
  mv ~/.cursor-server/bin/$COMMIT/vscode-reh-linux-x64/* ~/.cursor-server/bin/$COMMIT/
  rmdir ~/.cursor-server/bin/$COMMIT/vscode-reh-linux-x64
fi

rm -f ~/.cursor-server/.installation_lock*
rm /tmp/cursor-server.tar.gz

echo "Done"
THE END
| 步骤 | 命令 |
|---|
| 查 commit ID | cursor --version |
| 下载 | curl -L -o /tmp/s.tar.gz https://cursor.blob.core.windows.net/remote-releases/$COMMIT/vscode-reh-linux-x64.tar.gz |
| 解压 | tar -xzf /tmp/s.tar.gz -C ~/.cursor-server/bin/$COMMIT/ |
| 清理锁 | rm -f ~/.cursor-server/.installation_lock* |
| 验证 | bin/cursor-server --version |
